Easter Egg Treasure Hunts can be done any time of the year.
Making a scavenger hunt at the playground is one of my kids’ all-time favorite activities to do with dad. All it takes is a little planning, a little drawing, and a buck or two for prizes. (Or candy, if you go that way.)
To set up a scavenger hunt at the playground, the secret is surprisingly simple.
- Start at the end of the scavenger hunt.
 Decide where your prize is going to be hidden. And then,
- Work backwards to the beginning.
What you need:
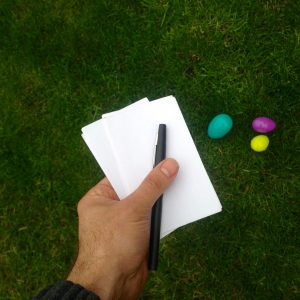
- Index cards
- Marker or pen
- Easter eggs (optional)
Setup Time: 20 minutes
Scavenger Hunt Playground Example
I’m going to leave the prize, an Easter Egg with three dollars worth of coins, hidden under the slide. That’s where we will start.
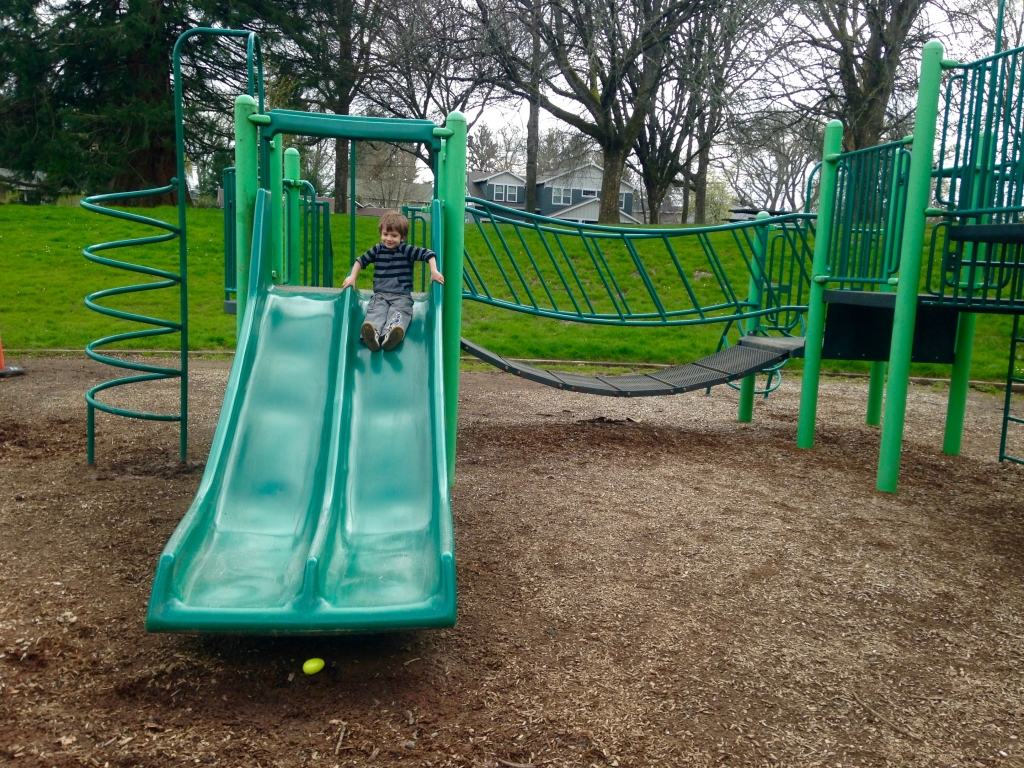
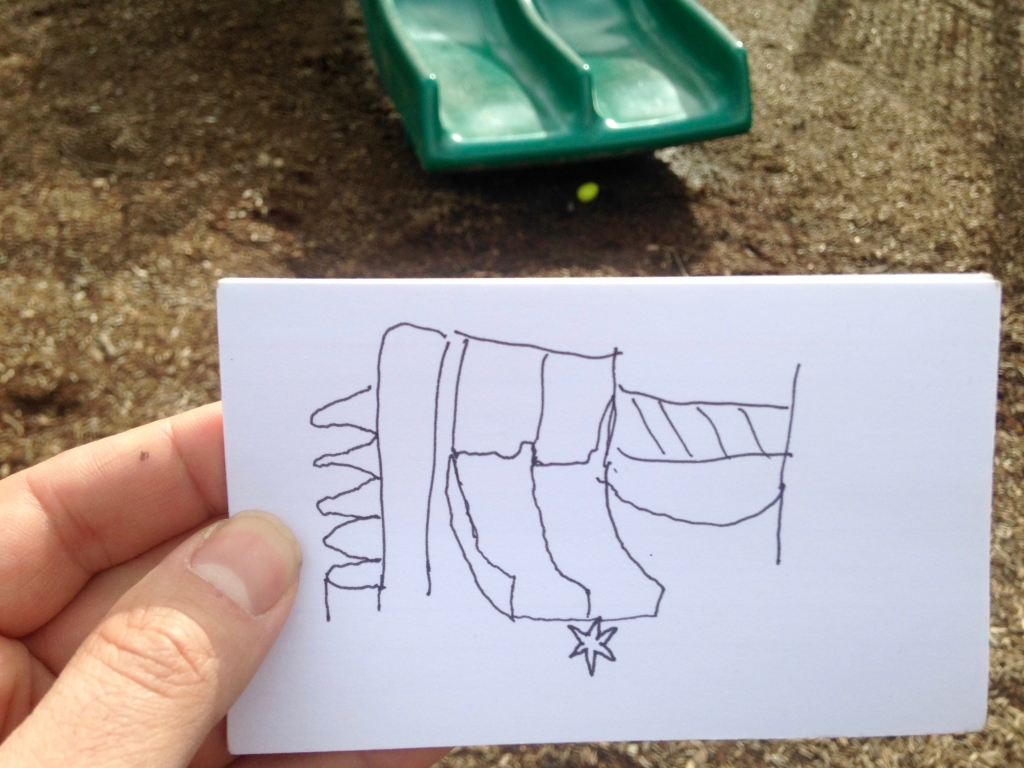
Next, I’m going to take one of my note cards, and draw a picture of the slide.
(This is usually the part of the set-up where I tell my frantic children to play by themselves, because Daddy is “making the magic happen.” They will try to interrupt you. Continually. Stay strong, look busy, and make plenty of jokes. Chase them away as a monster, just make sure they giggle instead of cry.)
After drawing a picture of the slide on my notecard, I draw a little star to show where the prize is hidden.
Next, go find another hiding place, somewhere else in the playground. Put your new drawing into an Easter Egg (or just fold it up, if you don’t have eggs) and hide it in another spot. Hiding the clues in Easter Eggs is optional, but it makes the clues really visible for the kids.
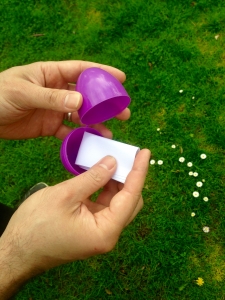
If you don’t have any eggs, you can make playground treasure hunts with folded up note cards, and the kids will still love it. The location-to-location discovery is what they really like.
I’ll hide this final clue next to the swingset. This is the one that leads to the final prize, but it’s the first clue that I’m leaving for them to find. (Backwards, see?)
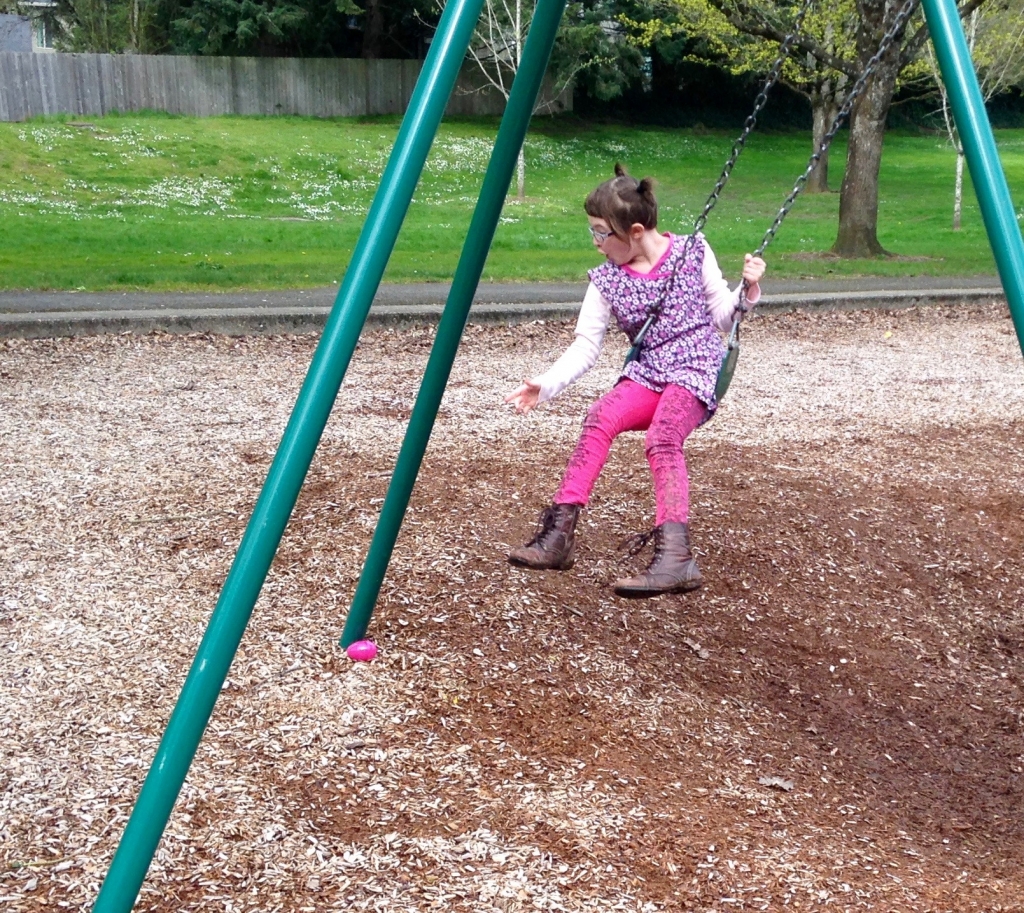
Then I stand there and draw a picture of the swingset, with a star showing the location of the egg.
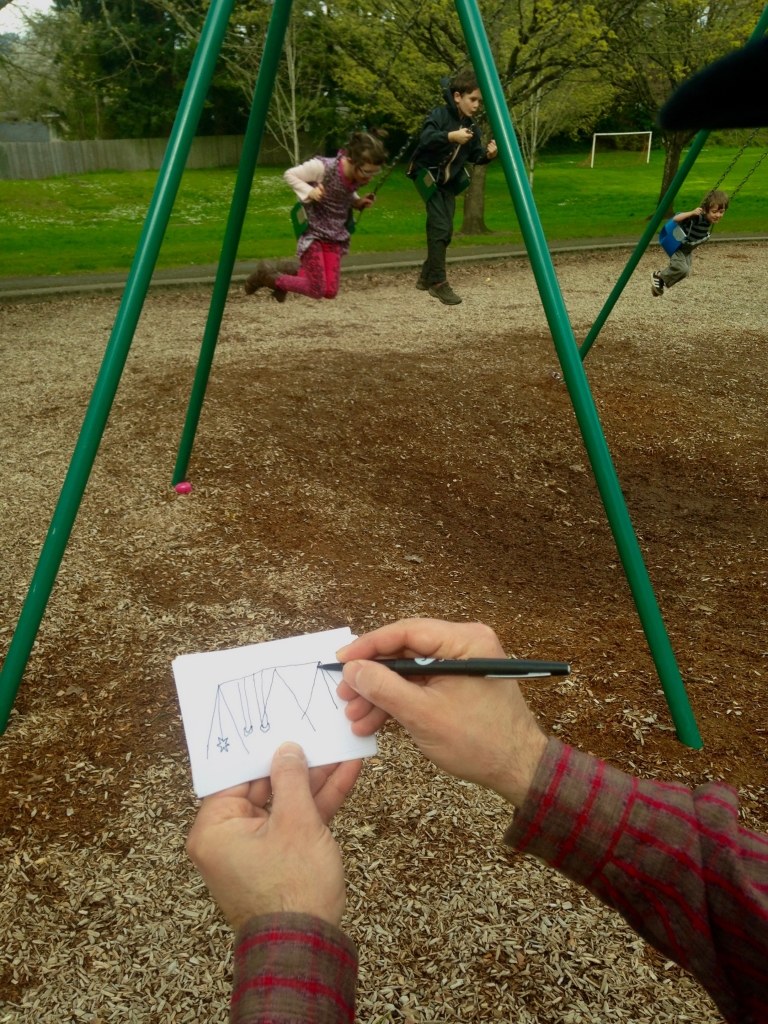
Now I take this clue, and I go to the previous location of the treasure hunt, that I’m just now discovering. Starting at the end, I go backwards, step by step, drawing the clues along the way.
For this demonstration, I’m only going to have 3 stops, to make it simple. The entire map looks like this:
- Bench
- Swingset
- Slide
You don’t have to stop at three clues; keep going! Make lots of clues, until your kids can’t wait anymore and they are totally freaking out. At that point, give them the drawing in your hands and get out your camera, because you are going to get some great photos of their fascinated little faces.
Here’s the first stop on my treasure hunt, on the bench:
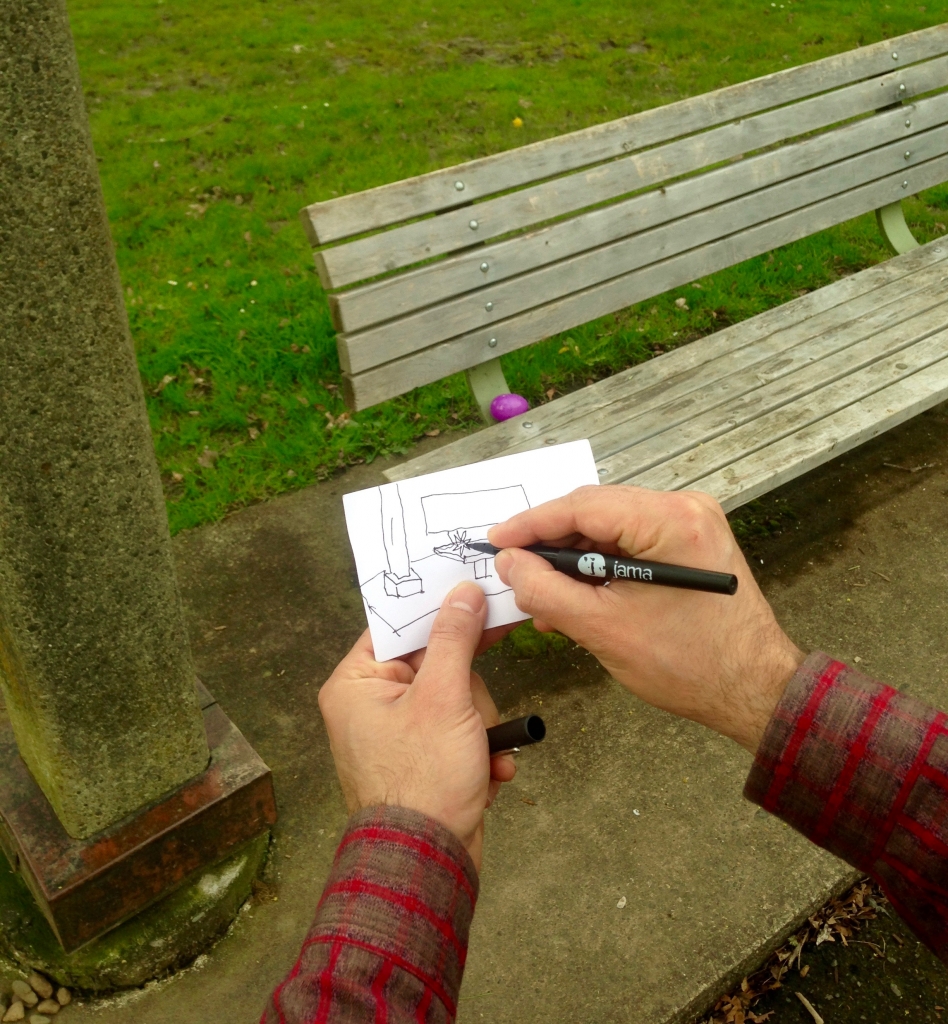
I gave my kids the first clue, and they followed it, step by step, all the way to the end.
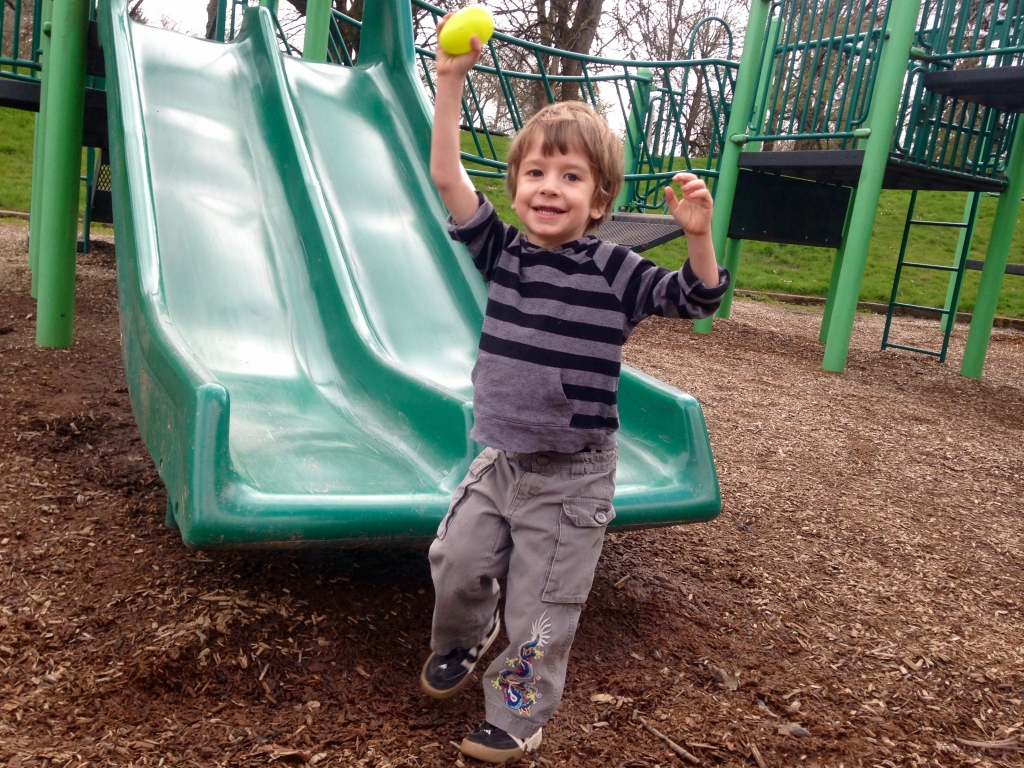
Even if they saw me stash the prize, my kids ignore it. What they really love is the process of discovery, like the unwrapping of a new present. The moment of deciphering the unknown into the known is especially potent for children, and setting up a quick and easy treasure hunt at the playground is an great way to give them an elevated dose of this excitement.
For Ages 2-4:
Hide a bunch of prizes in no particular order.
Going step-by-step won’t make sense to little kids. They just want to discover something shiny.
Have them wait nearby while counting to twenty (with a grown-up or big kid’s help) and cover their eyes, while you dash around hiding prizes and treasures – candy, coins, or stickers – all around the playground. Even if your child doesn’t find them all, some other lucky kid will discover what you’ve left and have a much better day because of it.
For Ages 5-7:
Riddle Clues
If you don’t like to draw, then use written clues. Start at the end, hide the final prize, and then go one step back in your treasure hunt. In this example, I would make the last clue, “Under the easy place to fall,” leading to the slide. You could make the swingset clue, “Next to the big green legs,” and for the bench, “Behind the best place to sit.” Even if your kids can’t read yet, finding the clue will give them a rush, and you can read the clue out loud to them. Puzzling out the clue adds on a whole new level of difficulty and fun.
For Ages 8-12:
Encrypted Clues
Have you ever introduced your kids to cyphers? Cyphers are codes that mask information. When you have the Key to a Cypher you can decode whatever it says, but without the Key you will only have a string of gibberish.
Teach your kids how to use a cypher, and set up a few clues using this cool generator:
http://cryptoclub.org/teachers/clue_generator.php
Work out your locations and clues in a notebook, by yourself. When you’ve got all your clues written out, enter all the information into the web page linked above at Crypto Club. It will generate a printable PDF with a page for each encoded clue, as well as a Legend for you to refer to with every clue (encoded and deciphered) for your reference.
With half an hour of preparation, you can give your kids a truly epic Saturday afternoon.
 Keep Exploring
If your kids are showing a lot of interest in this game, introduce them to Geocaching when they are old enough to move around a bit on their own. Geocaching is a smartphone-based app that hides little ‘caches’ of interesting things in tiny, hidden boxes in the real world.
Finding a geocache out in the open, hidden from the ‘muggles’ that don’t know about the game, is a source of genuine excitement for kids.
In case you’re wondering how I learned to make treasure hunts so simply and easily, I make treasure hunts for the World Domination Summit every year. Before that, I made a bunch of superhero-themed treasure hunts throughout the city.
But you don’t need an alter-ego; you’ve got your superhero name, Dad. Go be a hero to your kids.

